
The Ultimate Guide to Wheel Alignment Repeatability: Why Readings Shift and How Precision Techs Fix It Right the First Time
Whether you are a vehicle owner wondering why your steering wheel sits crooked after a fresh alignment, a shop owner aiming to eliminate costly customer come-backs, or a master technician seeking perfection on the alignment rack, one technical principle stands above all others: Alignment Repeatability.
What is Alignment Repeatability?
Alignment Repeatability is the true gold standard of chassis service. It means that once a vehicle's camber, caster, and toe angles are measured and adjusted to specification, the vehicle can be driven around the block—or even several hundred miles—pulled back onto the alignment rack, re-measured, and return the exact same target numbers.
When alignment readings shift between the time a car leaves the rack and the time it finishes a road test, the alignment hasn’t "slipped" or "lost its adjustment." In 95% of cases, the technician measured bound-up, artificial forces trapped in the suspension linkages, tires, or equipment.
Below is the comprehensive breakdown of the Top Repeatability Factors that cause reading discrepancies, along with the step-by-step techniques required to guarantee 100% precision every single time.
Section 1: Equipment Setup & Calibration Mechanics
1. Flush Adaptor Attachment to the Rim
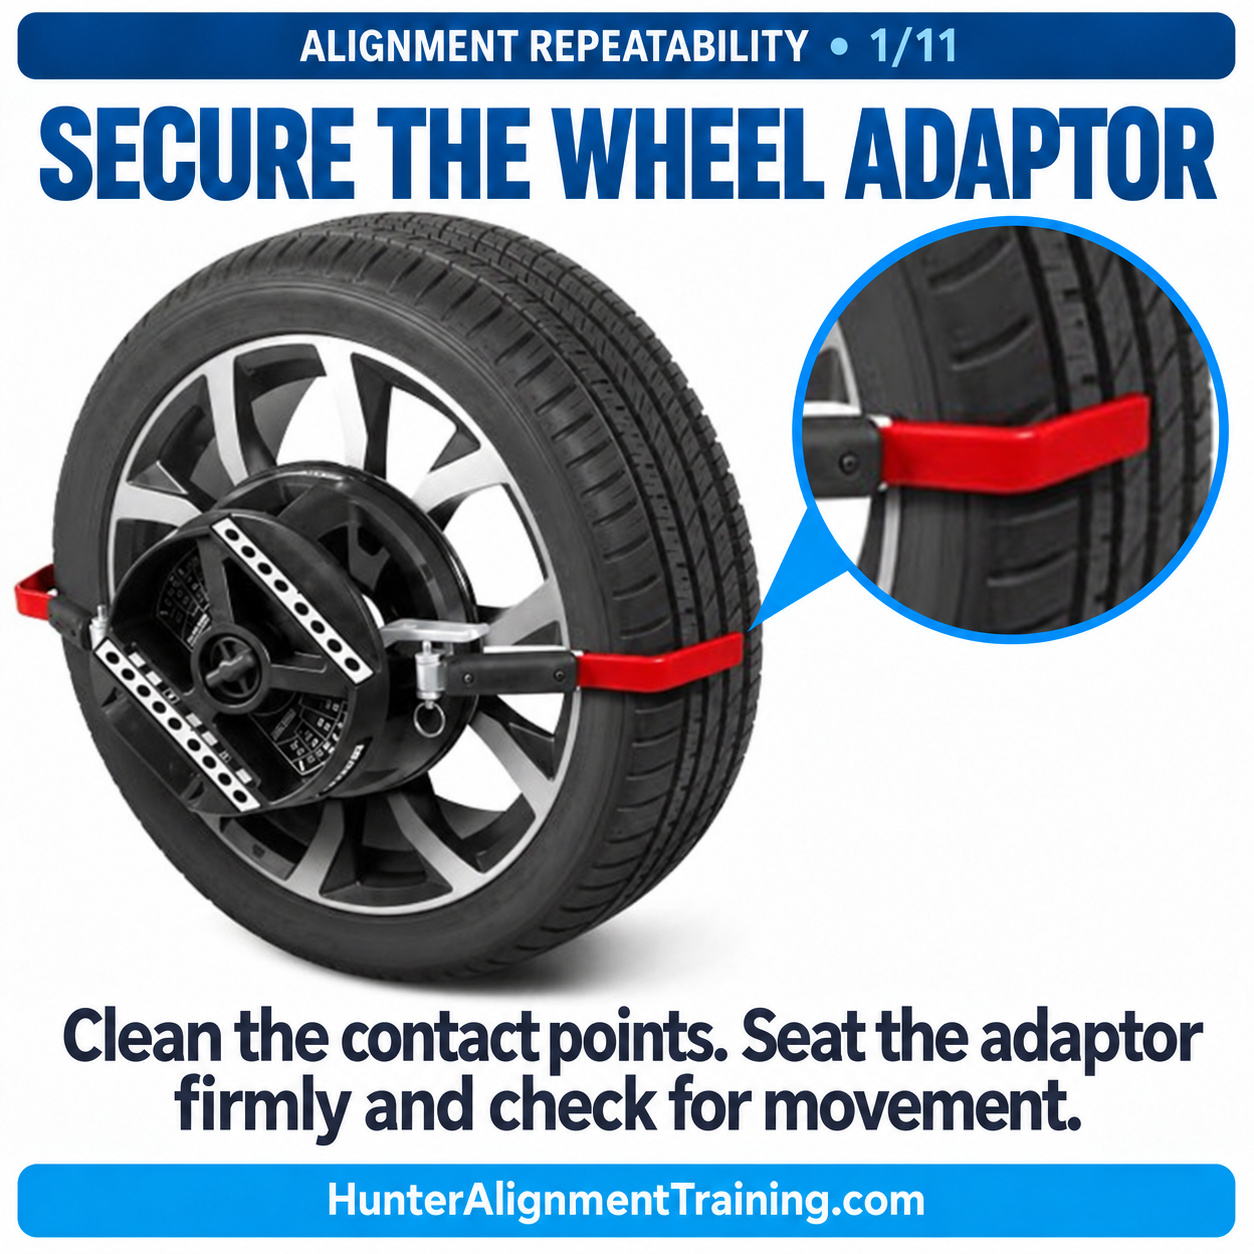
The Mistake: Clamping wheel adaptors or targets unevenly, over thick rim dirt, or onto bent wheel edges without verifying clamp stability.
The Impact: If an adaptor or target sits at an angle or slips even a fraction of a millimeter on the wheel rim, artificial runout is created. The alignment computer interprets this slight physical tilt as actual wheel lean, producing false camber and toe measurements.
The Professional Fix: Thoroughly clean the wheel rim contact points, ensure clamp pins seat solidly into the lip, and physically shake the clamp to verify rigidity before starting measurements.
2. Ensuring the Alignment Rack is Dead Level
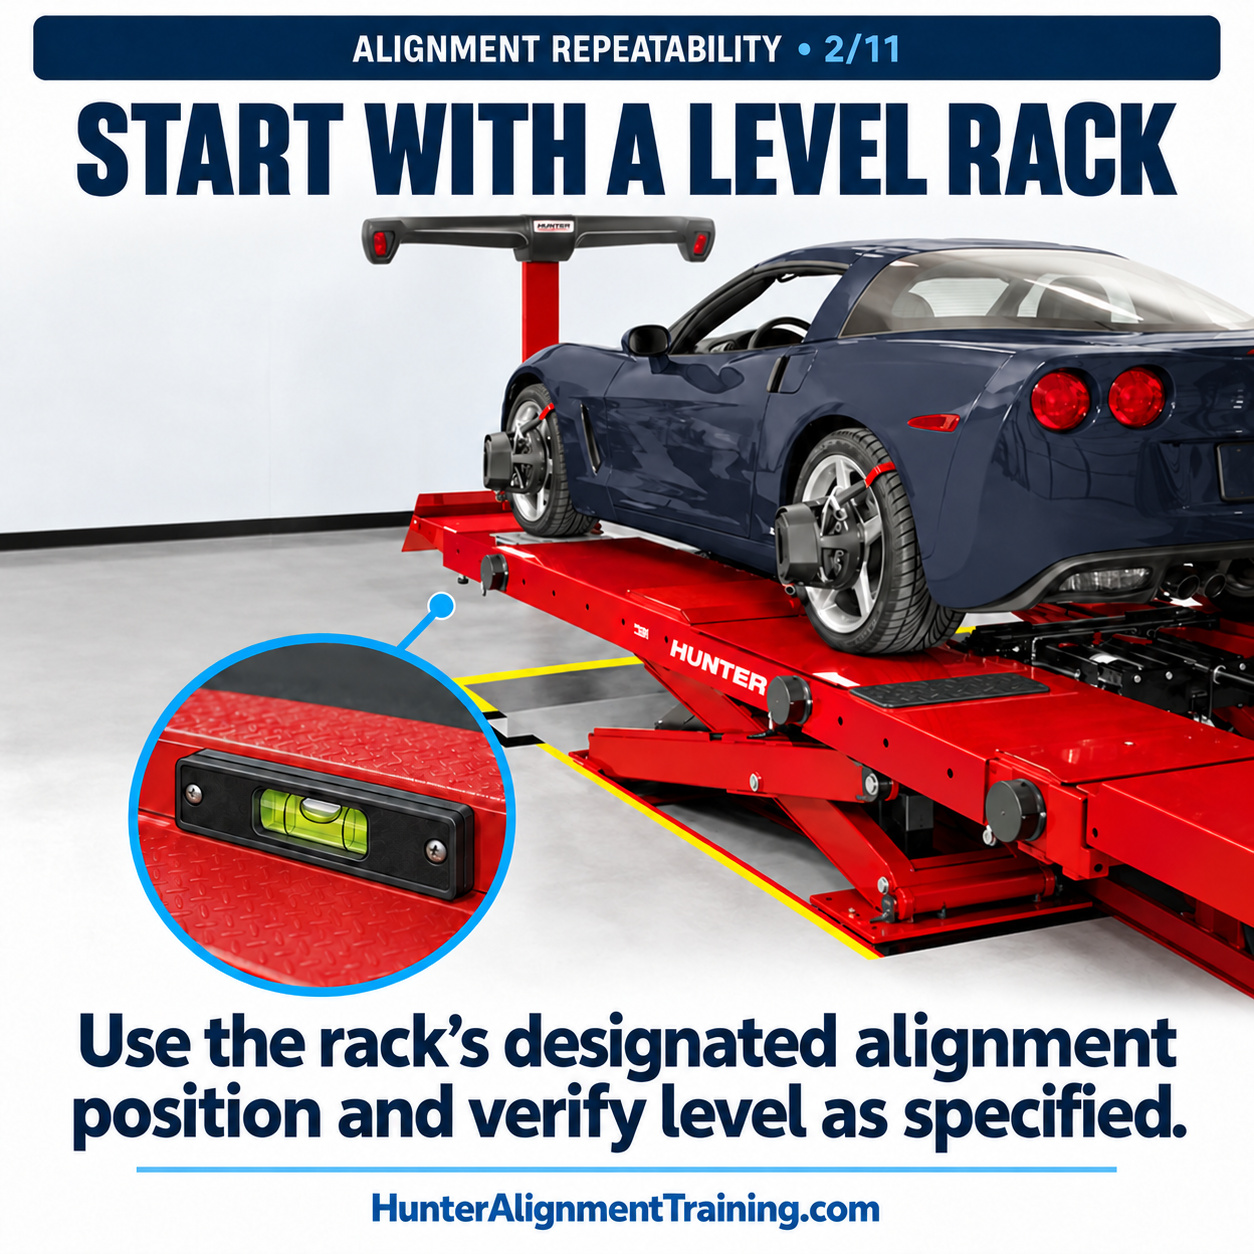
The Mistake: Performing alignments on an un-level lift or runway without enabling live electronic floor compensation.
The Impact: Gravity directly influences camera and sensor level reference planes. If the left runway sits higher than the right runway, the aligner calculates artificial cross-camber and frame angle bias, corrupting the entire baseline.
The Professional Fix: Always lower the lift onto its mechanical lock legs to verify horizontal leveling. When using advanced optical aligners, ensure floor characterization and live runway plane calibrations are active.
3. Centering Tires Exactly on Turntables
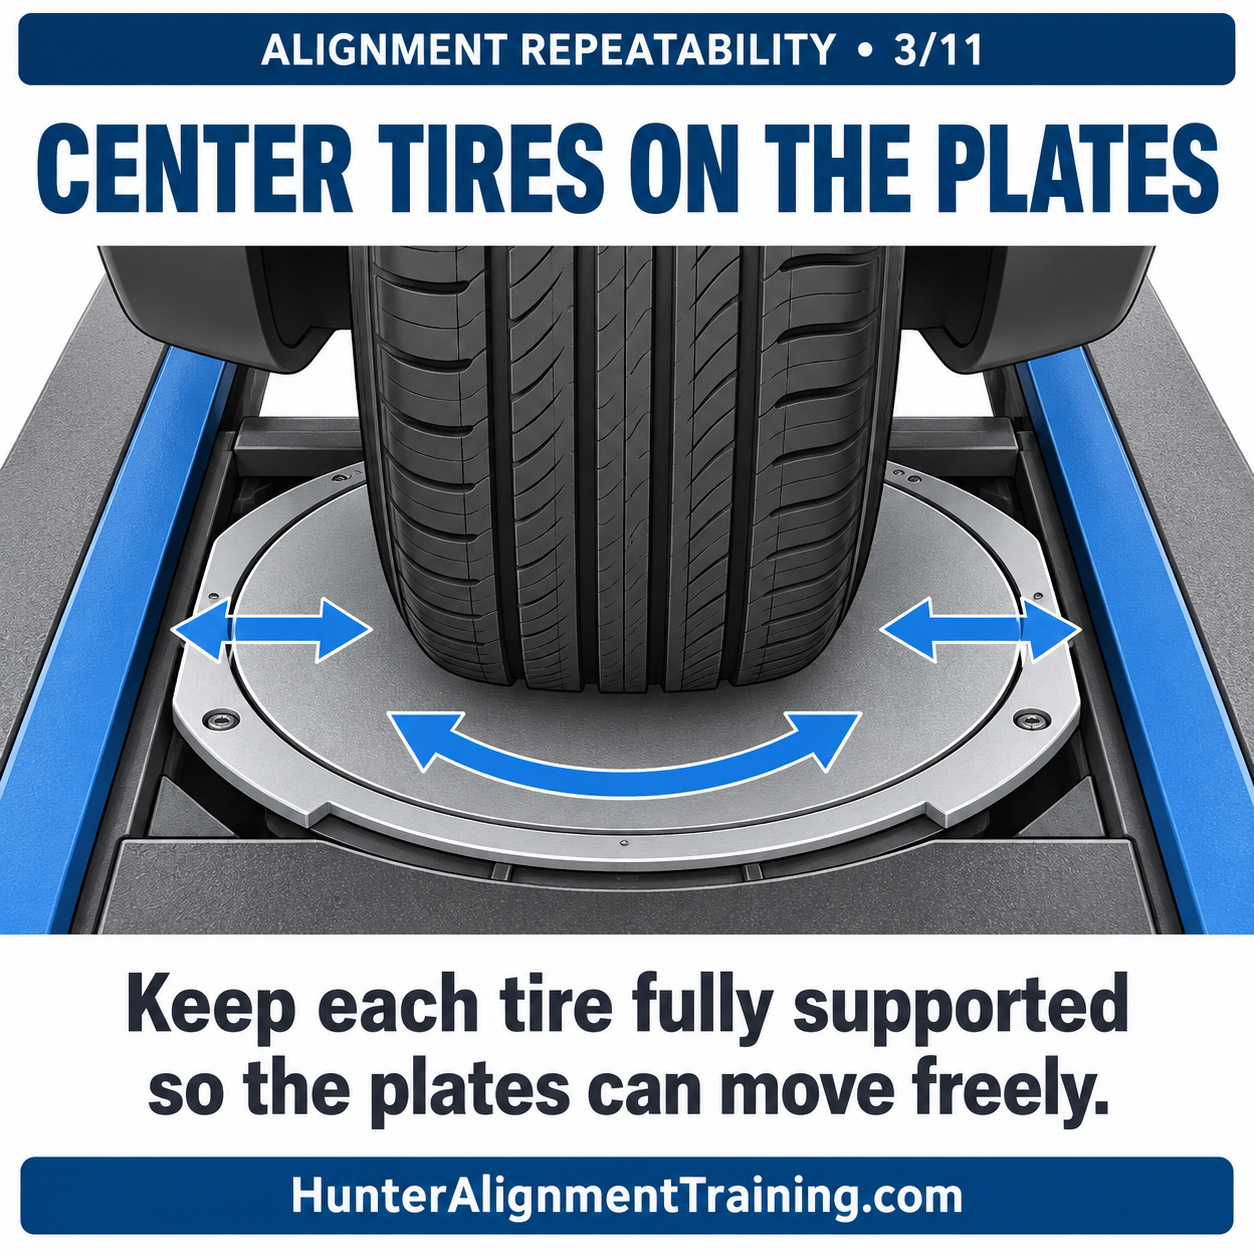
The Mistake: Parking the vehicle with the front or rear tires resting off-center or riding up on the outer lip of the turn plates.
The Impact: When a tire rests against the edge of a turntable pocket, the plate hits its mechanical travel stop as soon as the wheels are turned during a caster sweep or toe adjustment. This traps side-scrub forces and binds the front suspension.
The Professional Fix: Always center the tire footprint directly over the pivot center of the front turntables and rear slip plates during final vehicle positioning.
4. Clean, Round, and Smooth Turntable & Slip Plate Ball Bearings
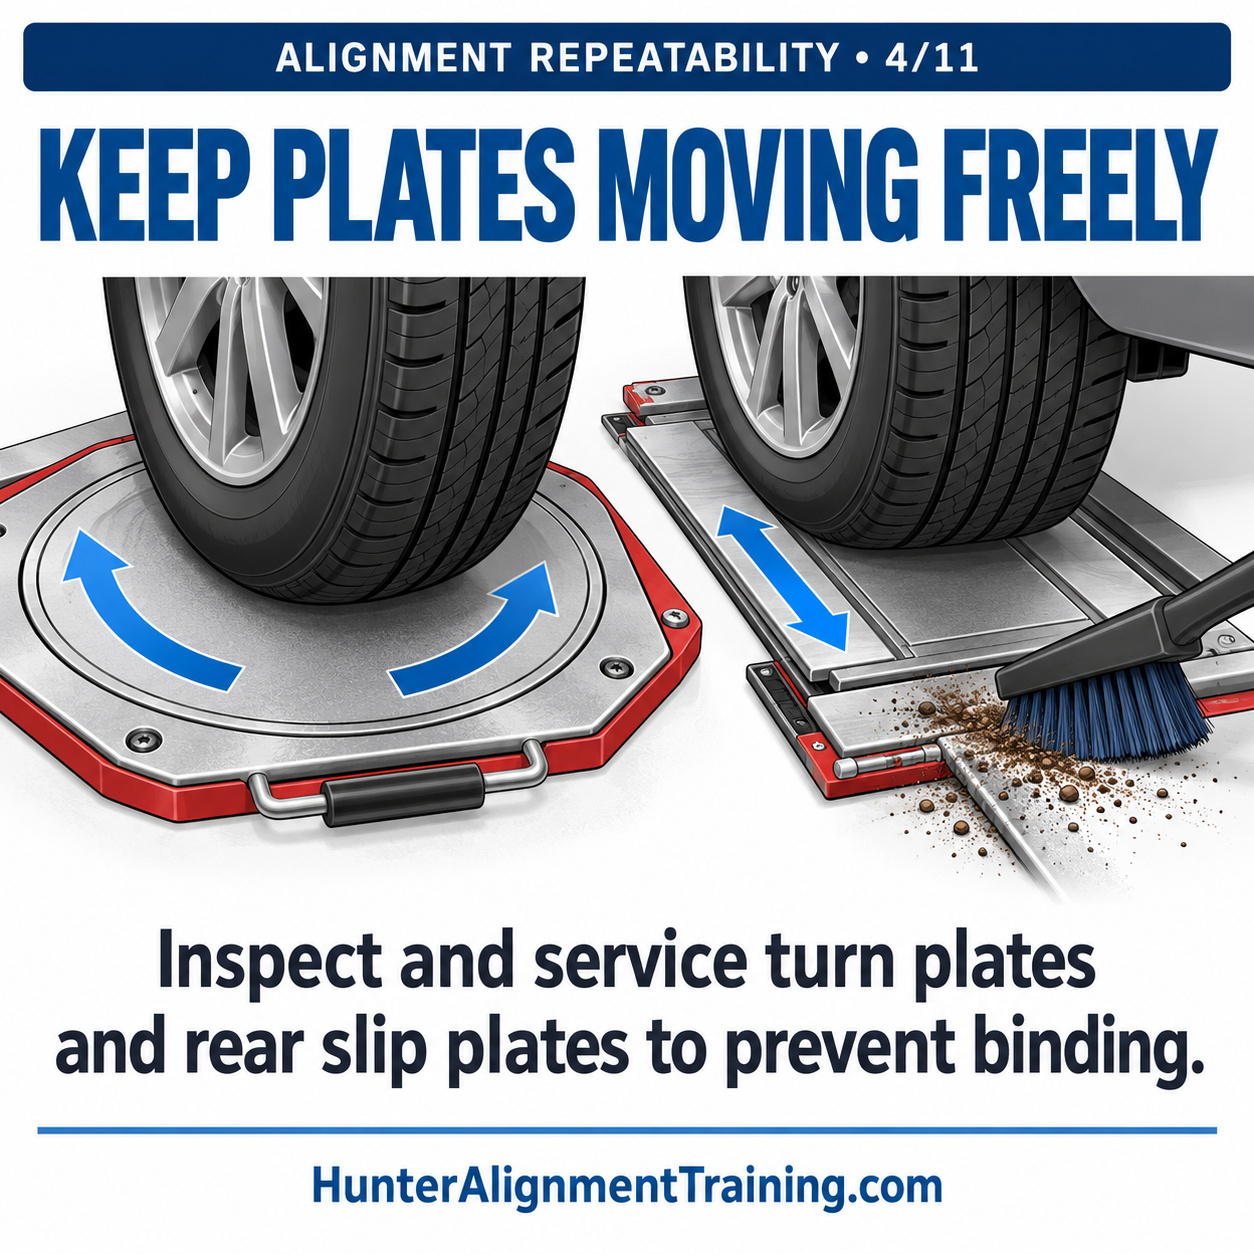
The Mistake: Allowing road grime, metal shavings, sand, or rust to accumulate inside front turn plates and rear slip plates.
The Impact: Binding turn plates and slip plates are the #1 cause of post-alignment crooked steering wheels! Dirt flats the internal steel or plastic ball bearings, locking the plates in place. As tie-rods or eccentric cams are adjusted, the tire cannot slide outward or inward. The tire rubber twists, storing elastic energy that releases as soon as the vehicle rolls onto the street.
The Professional Fix: Regularly disassemble, degrease, inspect, and rebuild turntables and slip plates. Ensure internal ball bearings roll smoothly without friction or flat spots.
Section 2: Precision Execution on the Rack
5. Performing a Smooth Rolling Compensation
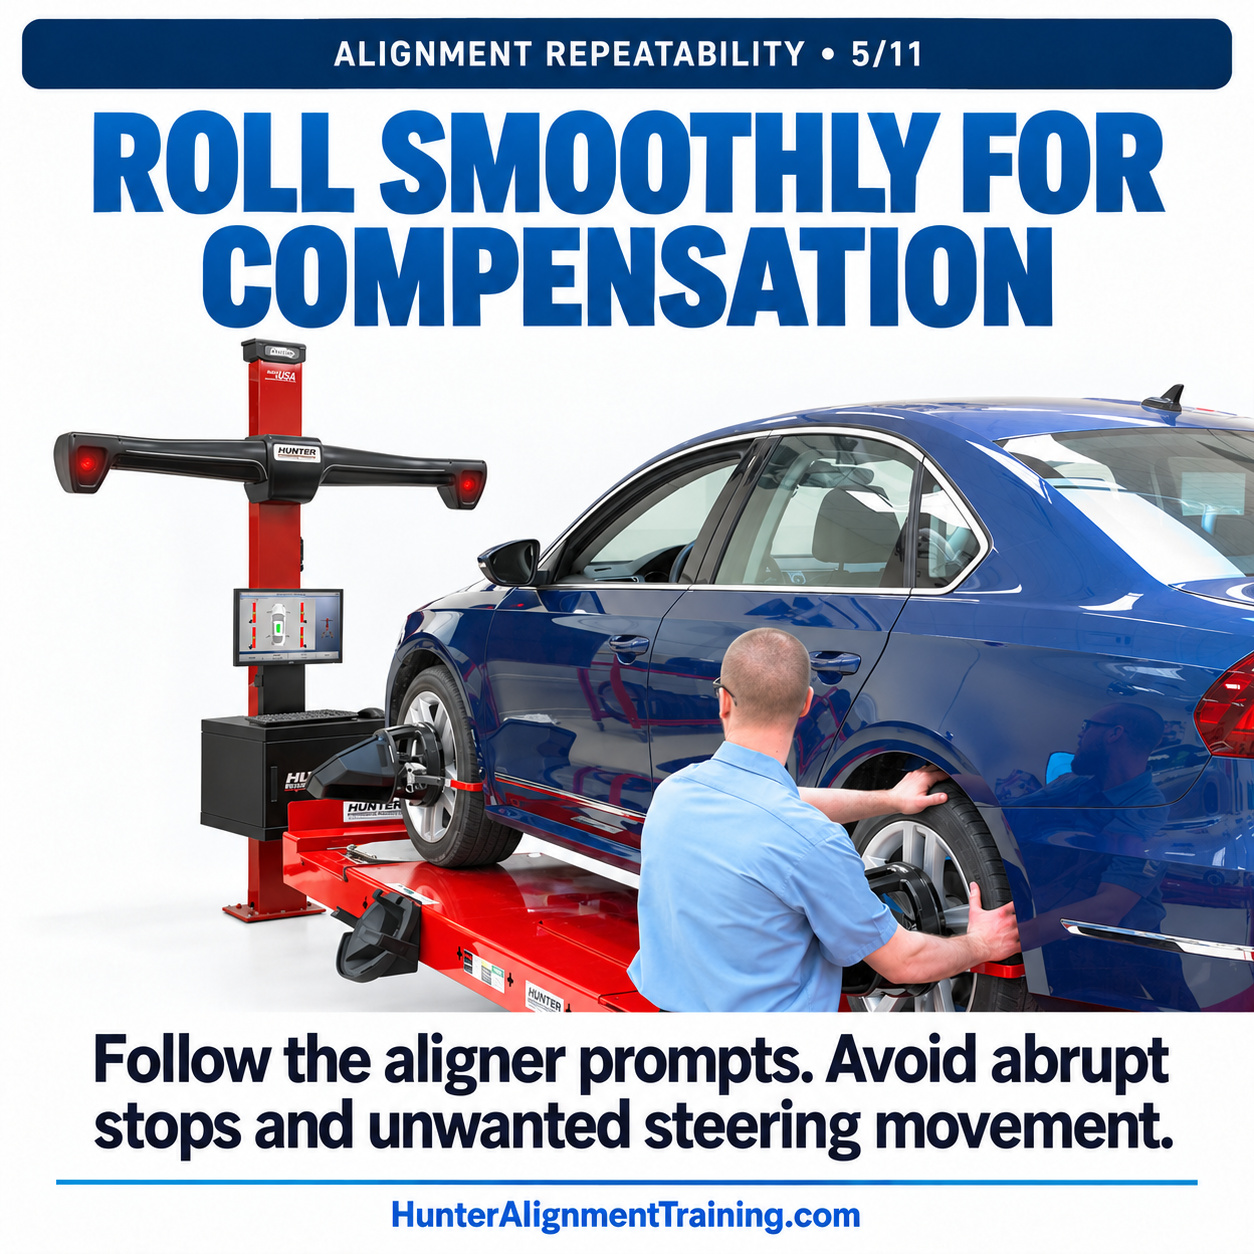
The Mistake: Pushing or pulling the vehicle abruptly, grabbing the front tires or steering linkage, or letting tires slide on runway edges during rolling compensation.
The Impact: Rolling compensation measures and eliminates wheel runout (imperfections in the wheel rim and adaptor shaft). Abrupt stopping or pulling on front tires causes unwanted steering movement during the roll, corrupting the optical camera baseline.
The Professional Fix: Always roll the vehicle smoothly by pushing on the left rear tire. Use turn plate bridges to create a flat, seamless rolling surface across runway gaps.
6. Using the Steering Wheel (Not the Tires) for Caster Sweeps
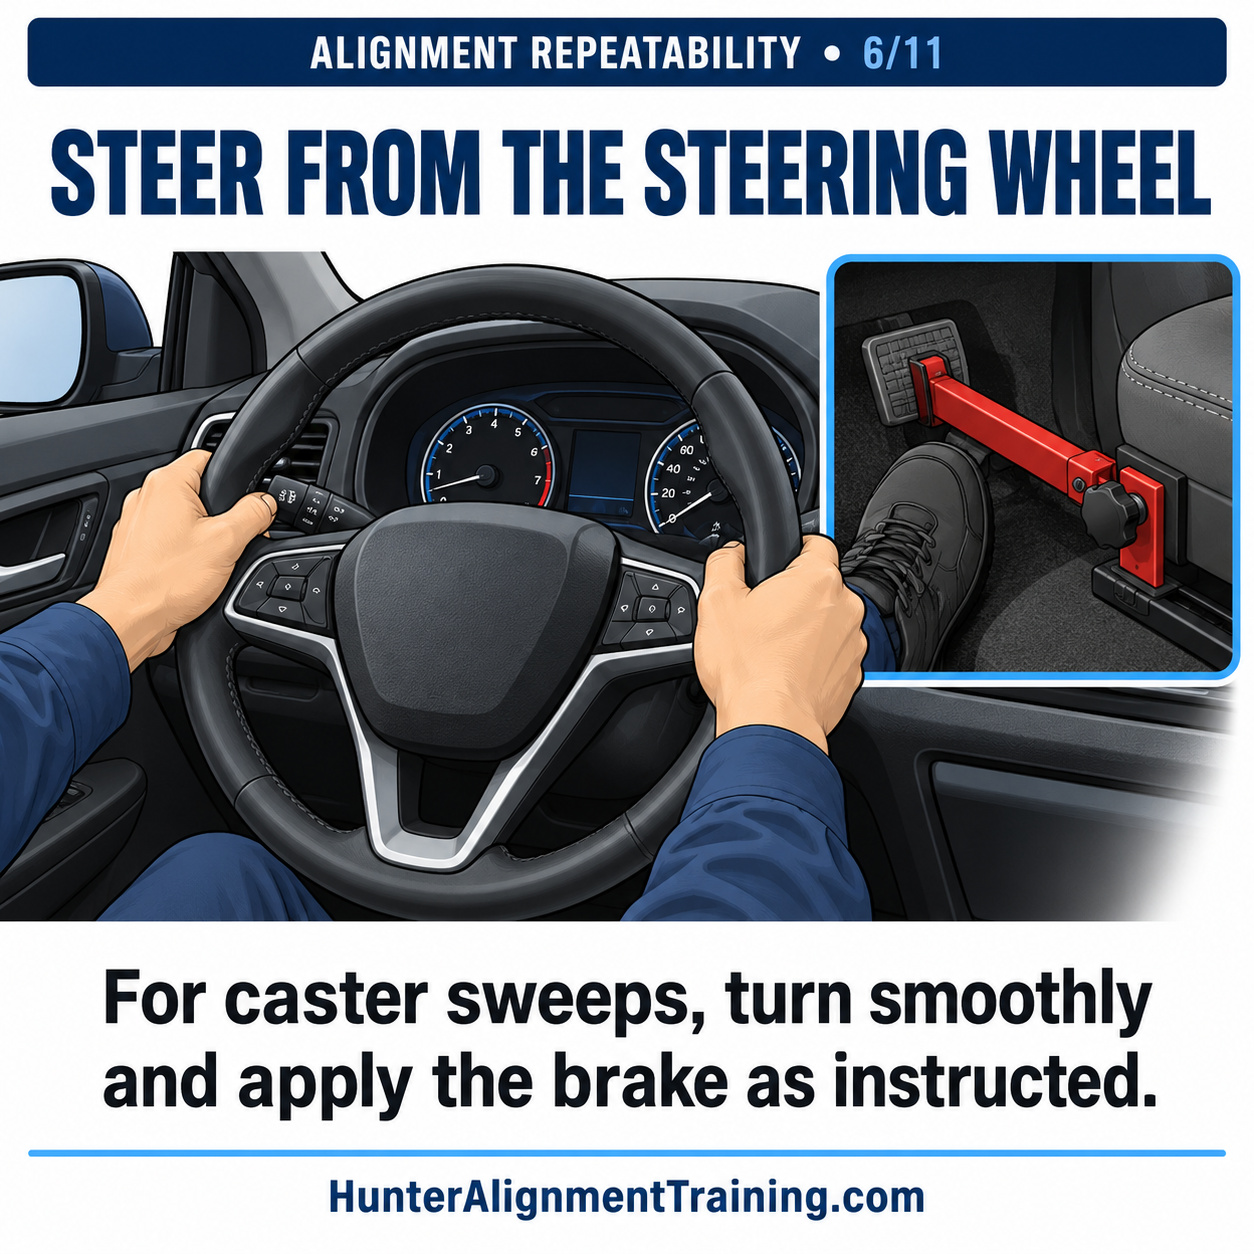
The Mistake: Reaching into the wheel well and grabbing the front tire or tie rod to steer the wheels left and right during a caster sweep.
The Impact: Pushing directly on the tire forces steering linkages against their mechanical tolerance limits and loads the power steering rack valve. This introduces artificial lateral play and shifts the vehicle’s body posture, warping calculated caster and Steering Axis Inclination (SAI) values.
The Professional Fix: Sit in the driver's seat or reach through the window to steer smoothly using the steering wheel itself. Always lock the service brakes securely with a pedal depressor during caster sweeps to prevent wheel spindle rotation.
7. Pulling Turntable & Slip Plate Pins During Adjustment
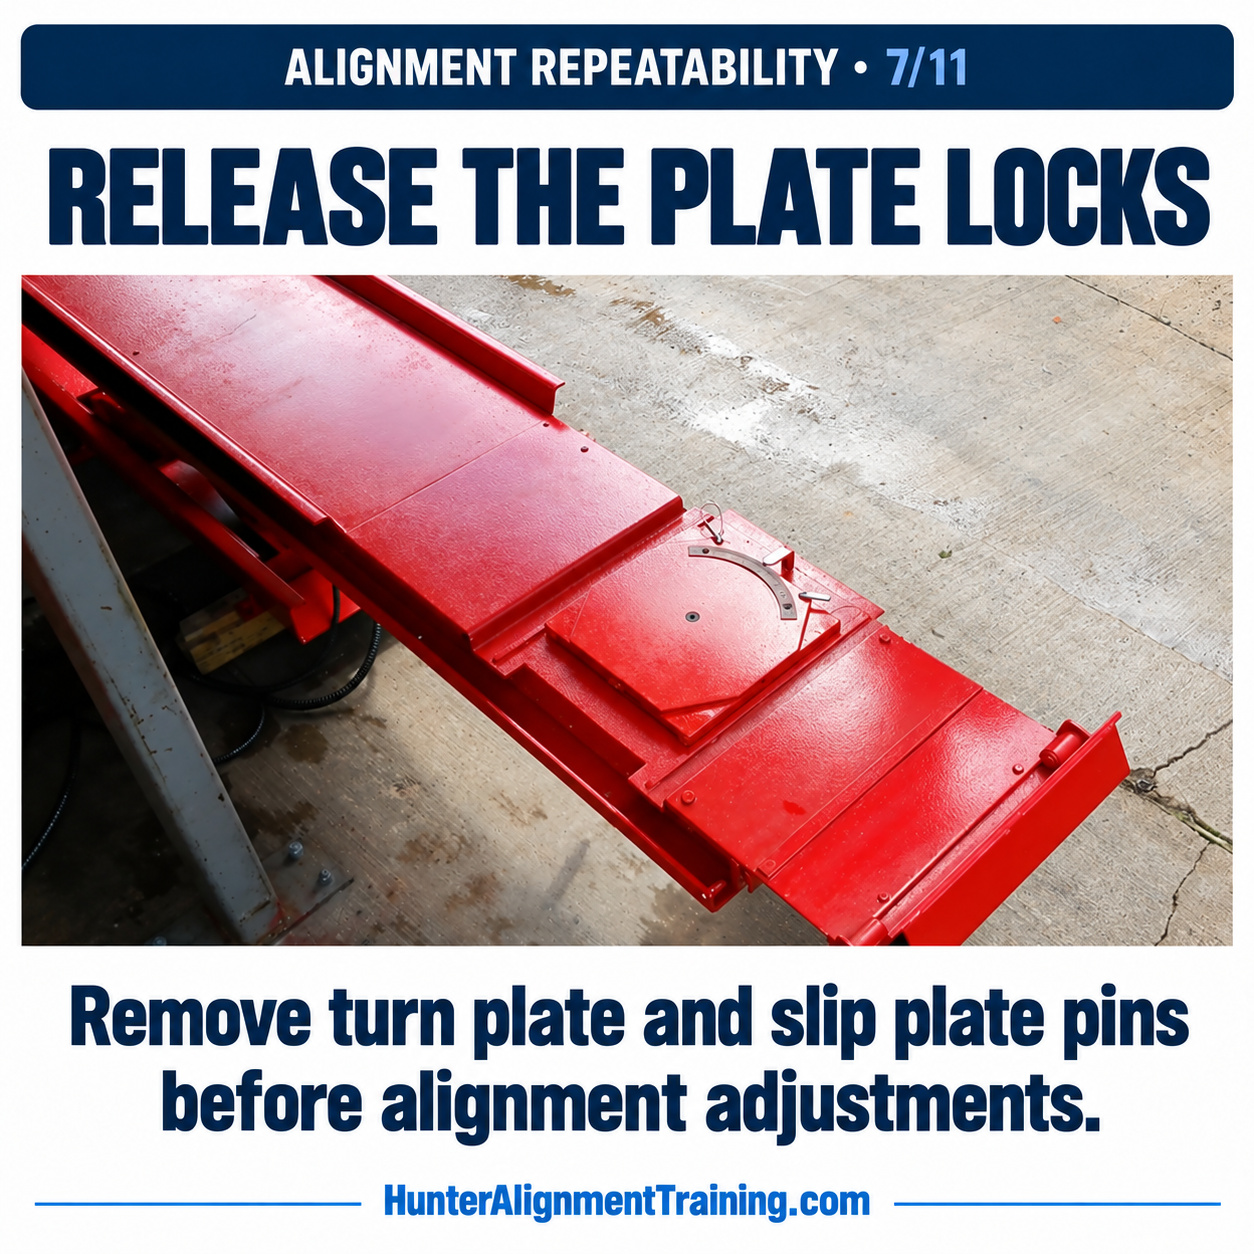
The Mistake: Leaving the metal locking pins inside the front turn plates or rear slip plates while turning adjustment bolts.
The Impact: Locking pins hold the plates rigid. When adjusting camber, caster, or toe, the suspension geometry alters its footprint width. With the plates pinned, tire tread scrub binds against the rack surface. The computer screen shows target specifications, but the moment you pull the pins or drive the vehicle, the bound suspension snaps back, altering readings.
The Professional Fix: Remove all turntable and slip plate pins immediately after rolling compensation is completed and before making any chassis adjustments.
8. Re-Compensating Targets/Sensors After Being Bumped or Removed
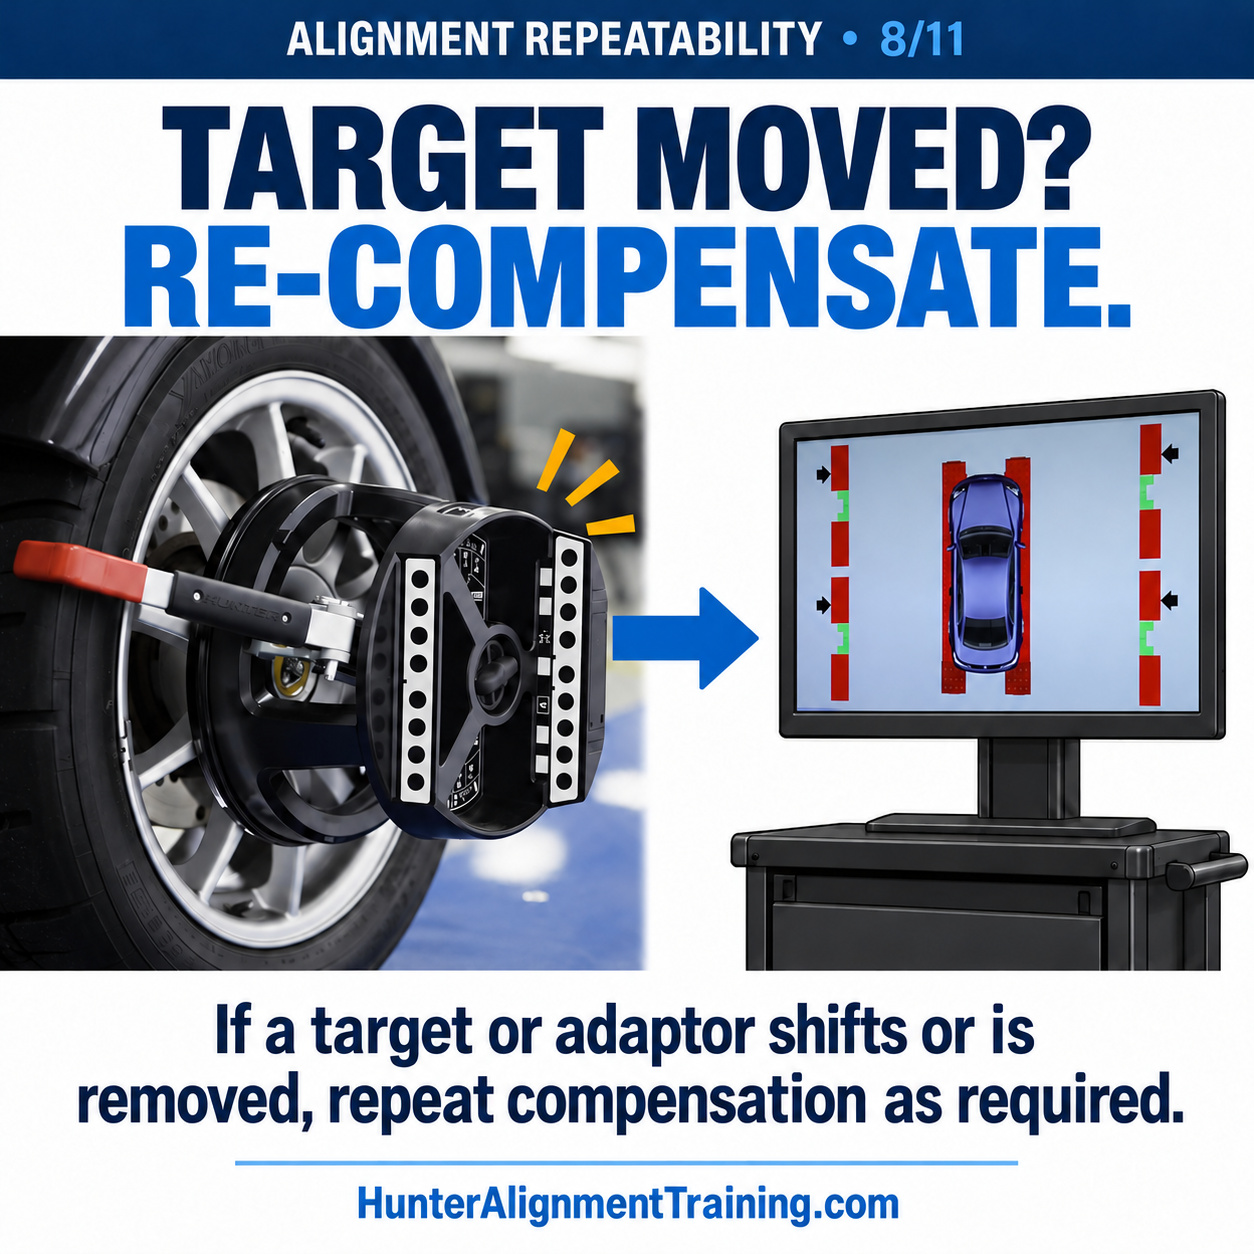
The Mistake: Accidental contact with a target or sensor during heavy wrenching, or removing a target to gain component clearance without re-running compensation.
The Impact: The alignment computer relies on the exact spatial orientation established during compensation. Bumping or re-mounting a clamp alters its physical runout baseline.
The Professional Fix: If a target or clamp is bumped, shifted, or removed to replace a suspension part, perform a jacking or rolling re-compensation on that wheel before taking further readings.
9. Re-Sweeping Caster After Any Caster Adjustment
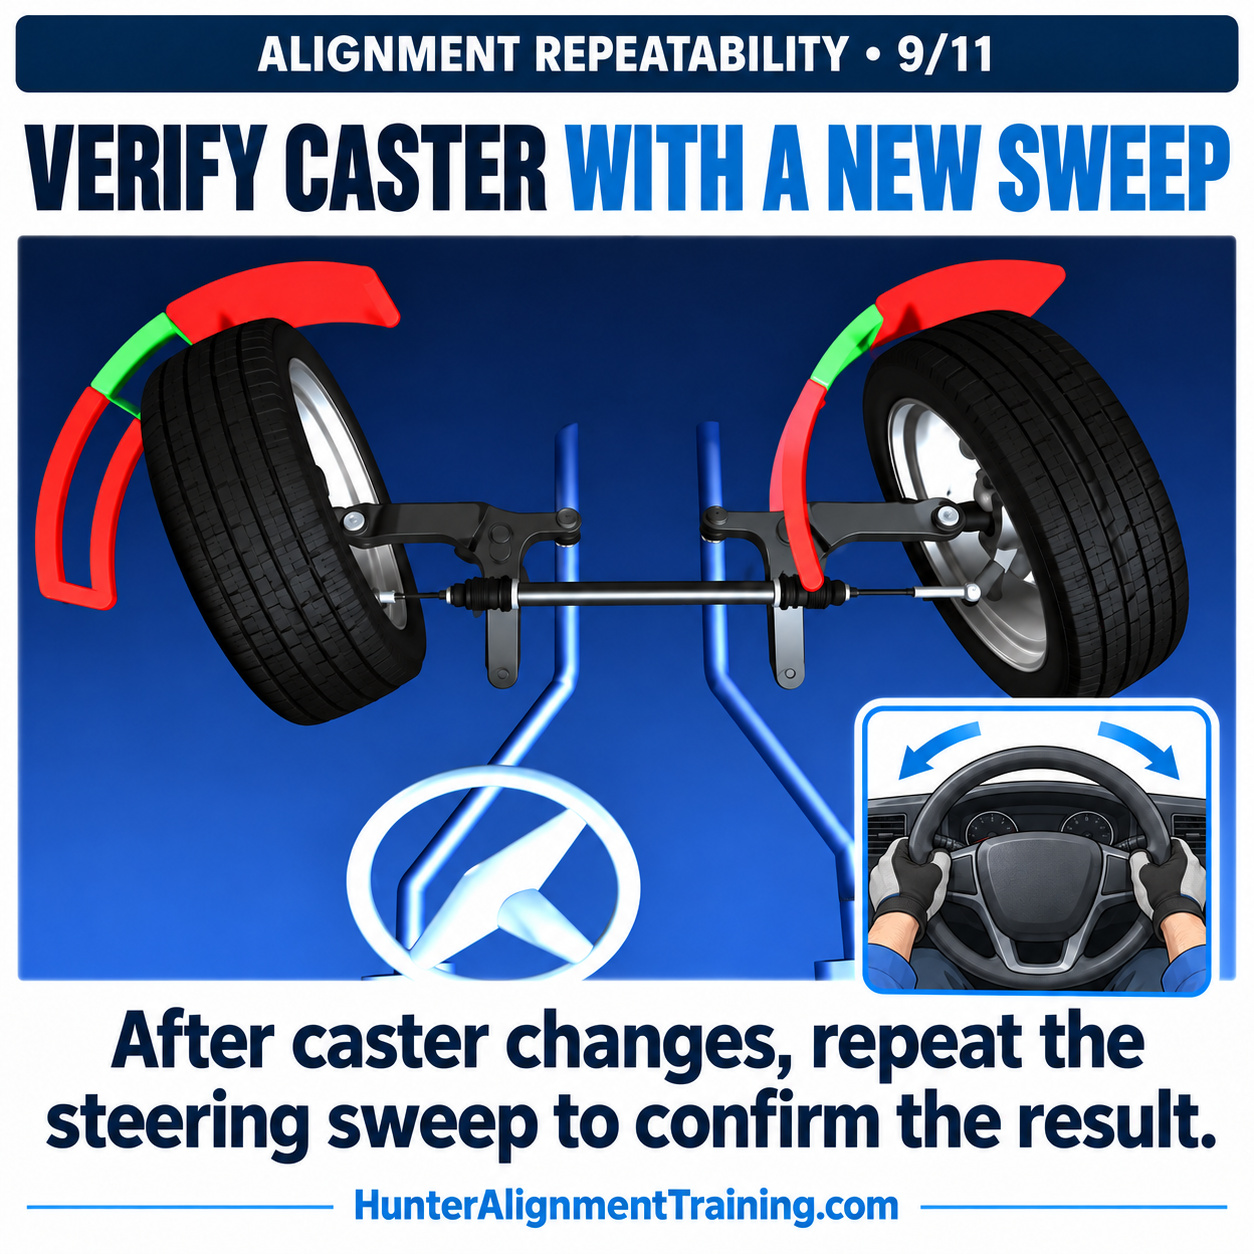
The Mistake: Adjusting a caster eccentric cam or strut rod and relying solely on "live" software bar graphs without running a new steering sweep.
The Impact: Caster is a computed angle derived from a steering sweep—it is not a static direct measurement. While software bar graphs estimate adjustments, physical movement of the control arm alters SAI and camber simultaneously, rendering static bar graphs inaccurate.
The Professional Fix: Always perform a new caster sweep after making any caster adjustment or any camber adjustment that influences the steering axis.
Section 3: Suspension Integrity & Dynamic Settling
10. Never Aligning Over Worn Suspension or Steering Linkages
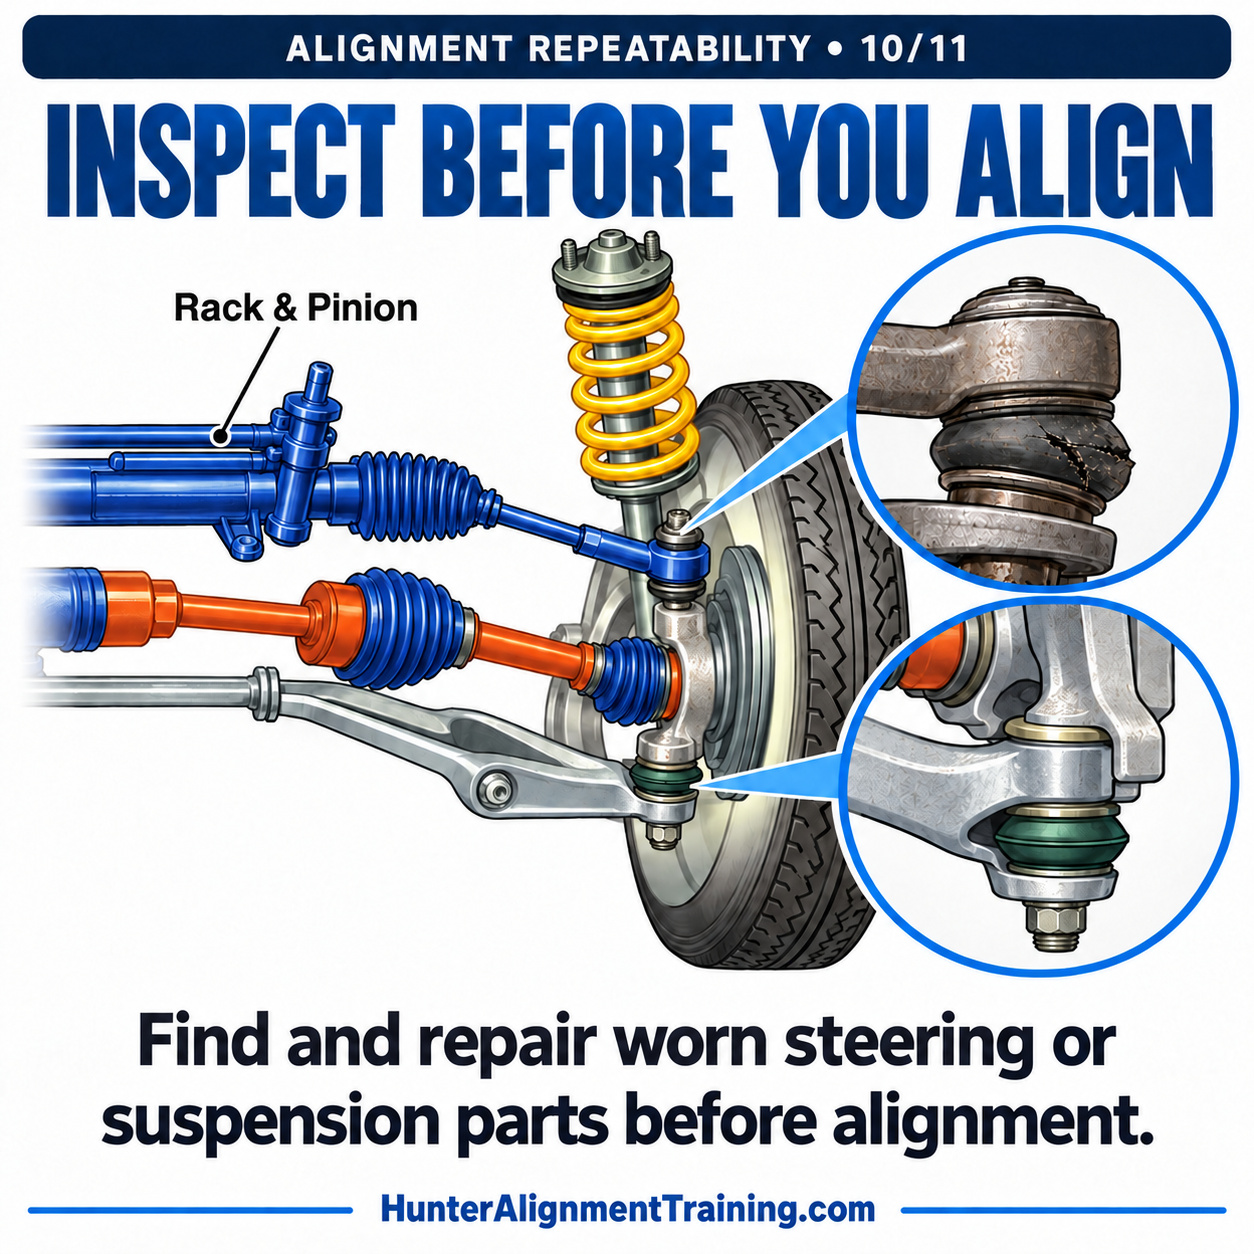
The Mistake: Attempting to align a vehicle with loose ball joints, worn tie rod ends, bad idler arms, or deteriorated control arm bushings.
The Impact: You can dial in 1/100th-degree precision on the computer screen, but worn mechanical components allow parts to shift position as soon as driving torque, braking forces, or cornering loads hit the chassis.
The Professional Fix: Perform a rigorous pre-alignment inspection (shaking down tires, checking ball joints, and inspecting bushings) before the vehicle touches the alignment rack.
11. Rolling and Jouncing the Vehicle After Jacking
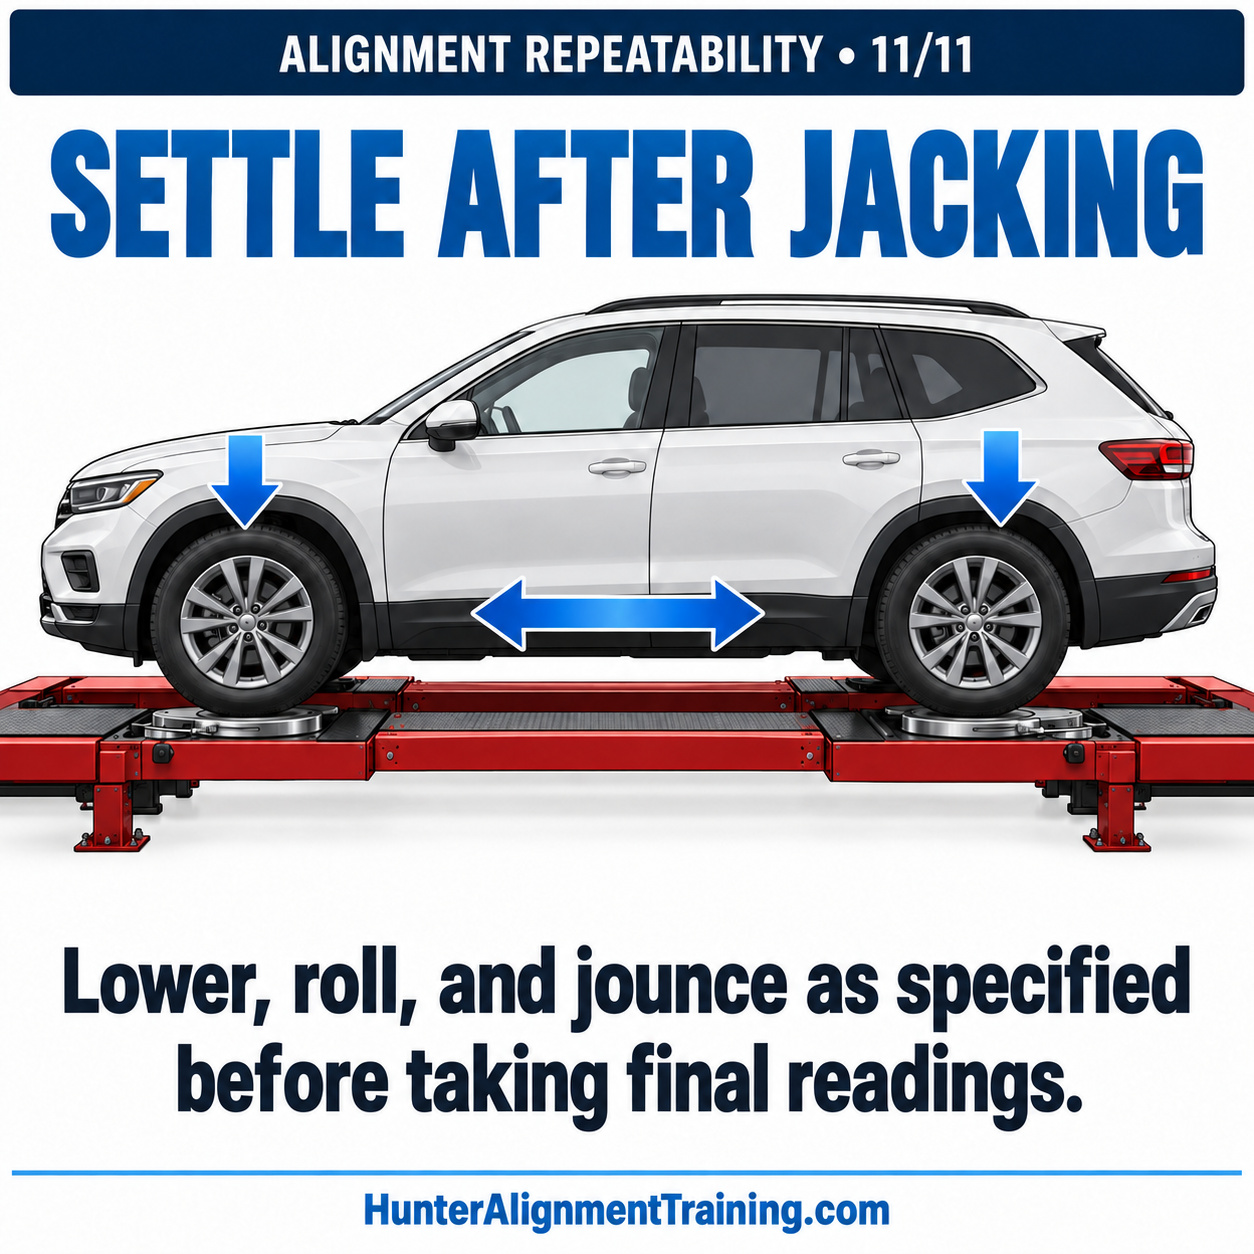
The Mistake: Raising the vehicle on a jack (for shim installation or slotting) and taking final readings immediately after lowering it back onto the rack.
The Impact: When a vehicle is jacked up, the suspension hangs downward, drawing the tires inboard. Lowering the car leaves the tires scrubbed inboard, trapping the suspension high above its normal curb ride height. Camber and toe readings will be completely incorrect until the suspension settles.
The Professional Fix: After lowering the vehicle, roll it back and forth several feet and jounce both the front and rear bumpers to settle rubber bushings and restore true curb ride height.
The Precision Alignment Quality Matrix
| Operational Step | Key Requirement | Common Failure | Result of Failure |
|---|---|---|---|
| Adaptor Mount | Firm, flush contact on clean rim | Loose/canted clamp | False camber & toe readings |
| Rack Level | Verified level on lock legs | Un-level runway | Artificial cross-camber bias |
| Turntable Care | Clean, free-rolling ball bearings | Dirt/grit in plates | Crooked steering wheel |
| Plate Pins | Removed prior to adjustment | Pins left installed | Suspension binding & reading drift |
| Caster Sweeps | Performed via steering wheel | Pushing directly on tires | Corrupted caster & SAI |
| Post-Jacking | Roll and jounce suspension | Reading while "hung" | Ride height & geometry errors |
Summary: The Quality Guarantee
By adhering to these 11 non-negotiable rules, an automotive service facility transforms alignment from a quick "toe-and-go" guess into a repeatable, high-precision engineering service. Customers enjoy straight tracking, centered steering wheels, and maximum tire life—with zero come-backs!